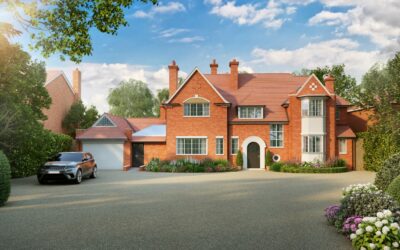
The visual appearance of architectural renderings is one of the most important elements that contribute to successful communication between the architect/client and the final viewer. The photorealistic quality often expected by clients can be achieved through advanced rendering, lighting, texturing, and physical sky modelling techniques.
Visualisations are a powerful tool for architects and designers to show their ideas and projects. However, these images can sometimes look fake or unprofessional. This article will explore what makes architectural visualisation look realistic with some basic simple tricks and more detailed help below.
Simple tricks
There are many simple techniques that can vastly increase the realism of your visualisations.
Some of these tricks include:
-Simplifying the design with minimalist buildings, landscapes and materials.
-Adding shadows or reflections.
-Creating photo-realistic textures with an artificial lighting effect.
Rendering Quality
The quality of the render is a factor in whether an image looks realistic. The texture, lighting, and materials used give the illusion of realism by making it more lifelike than other types of models. Adjusting the camera angle also plays an important role in the visualisation’s realism; this can be done through software or by physically moving around the model. The use of 3D modelling and rendering software (such as with 3D Lines) can create photorealistic images that blend seamlessly with 2D drawings, models, sketches and photographs.
Use Round Edges
No edges in real life are completely sharp so this should also be reflected in your visualisations. Make sure all edges are rounded which will greatly improve the aesthetics of your images. There are multiple ways you can round the edges in your designs all depending on what software you are using.
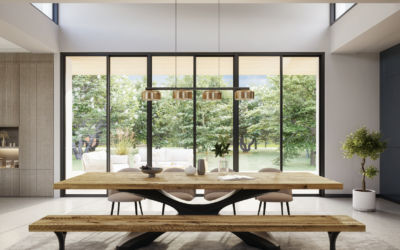
Mimic Real Lighting
The lighting is a dead giveaway that CGI renders look unrealistic. If you want to create photorealistic visuals, mimic the lighting from real-world environments. For example where the lamps and windows are in the room have the light brighter there and shadows in darker corners. You still have some artistic license leftover. After all, one of the primary advantages of 3D rendering is the ability to generate scenes that are not limited by physical feasibility. But mimicking the way light acts in nature goes a long way in helping your visualisations be not just impressive but also believable.
Don’t Have All Surfaces Look Perfect
Nothing in the real world looks perfect so why should it in your generated images? This does not mean adding lots of dirt and grime to your images but to just add those extra small details for realism. These can include finger print marks to show that something is being used, or slight scratches and smudges on surfaces. Your customers won’t be horrified at this, and these details really go a long way to make your visualisations look far more real. You can take this even further by showing wear on objects at the edges as this is where items get damaged and used more and keep the flat surfaces looking clean and shiny for comparison.
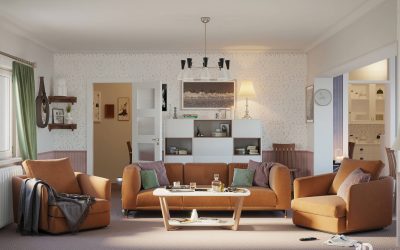
Add Random Objects
A failure of many 3D renders is they can be too boring and unrealistic. If you have created perfect photos of rooms and buildings with immaculate furniture, add some chaos! This needs to be done with restraint so not to confuse or distract from what you are trying to sell but can really add some personality. Some good examples are having bowls of bright fruit on tables or stacks of books to really add that this is a real home. You can take this anyway you want with abstract art pictures on walls or animal mugs in the room. Make sure cushions on a sofa are rendered differently and placed at different angles rather than just duplicating the same cushion.
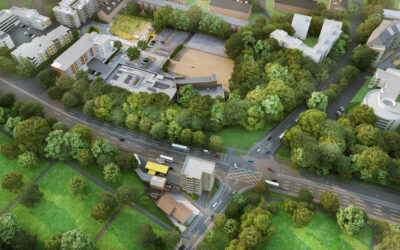
Use Normal Camera Angles
This really comes hand in hand with creating good lighting, remember that your most customers don’t view the world at a height of over 6ft so keep your images at angles lower than this. For good realism try to imagine how people would view the architecture from standing positions before creating your visualisations. When creating your images try to focus on the small details rather than just having one large shot having a focal length of 16-50mm for interior and 30-100mm for exterior.
Summary
If you want to have realistic architectural visualisations then follow these guidelines for some starting points and start experimenting with images that suit your business. Creating real looking photos can be very tricky, but with time and effort you can soon start creating visualisations that really show off how beautiful your architectural designs can be.