One of the hardest things about designing a building or product for a client is making sure that the image in the designer’s head matches the image in the client’s. Sketches and models can only go so far towards creating the visual guidance that guarantees a design team will end up with a final product that fully meets the client’s expectations. Fortunately, there is technology that can take those sketches and hand-drawn models further, to realistic imaging of the finalized project from every angle, and can even produce animated walk-throughs for the client to experience.
Architectural Visualisation in the 21st Century
Architectural visualisation has come a long way in the last several years. What used to be a process reserved for architects and those with specialised training in CAD programs is now available from a variety of design firms, connecting clients directly to high-quality images of what they want their final product to look like. Below is an explanation of the six stages of architectural visualisation.
-
Begin with the client’s ideas
Anything from a free-handed sketch to a CAD drawing can be the foundation for the final product in this process. The artist can begin to build a model based on simple shapes and lines with the information they glean from a client’s ideas and desires.
-
Add dimension
These basic shapes are then digitally sculpted into more complex and detailed shapes that add dimension to the model, building piece by piece almost as the real building will be. Lighting angles are added to create a sense of placement. This part of the process is also the beginning of adding a sense of realism to the product.
-
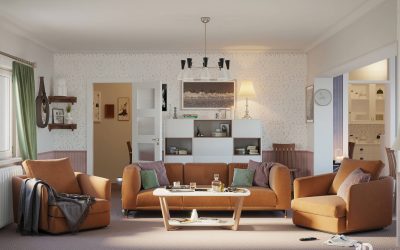
Materials and textures
With client feedback, the artist can begin to add in the desired materials for the finished product. Textures of stone, wood, metal, tile, and textiles are combined with the angles of the light source to create a space that feels rich and detailed. These textures can be changed out and compared to help the client finalize decisions on the end product.
-
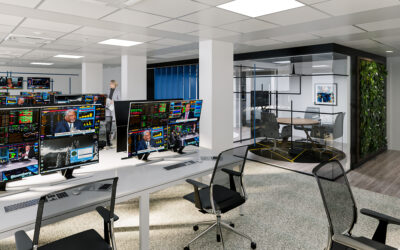
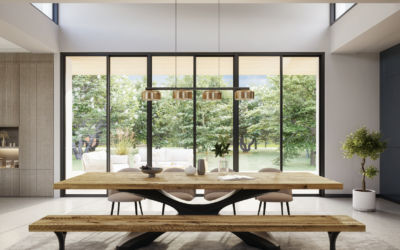
Styling and props
This is where the artist gets to use some creativity. Without having to photograph a single product, the visual architect can cozily furnish a room or landscape an exterior model using extensive libraries of 3D images. Creating this type of “finished space” visualisation can be one of the best ways for a client to really get a good sense of what the final product could look and feel like.
-
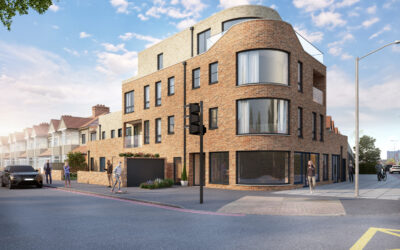
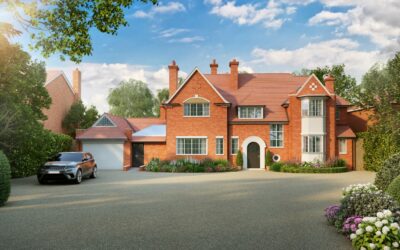
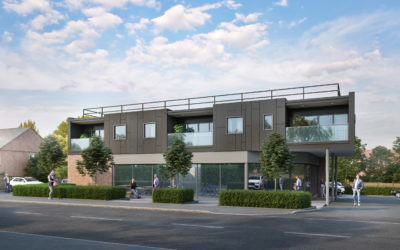
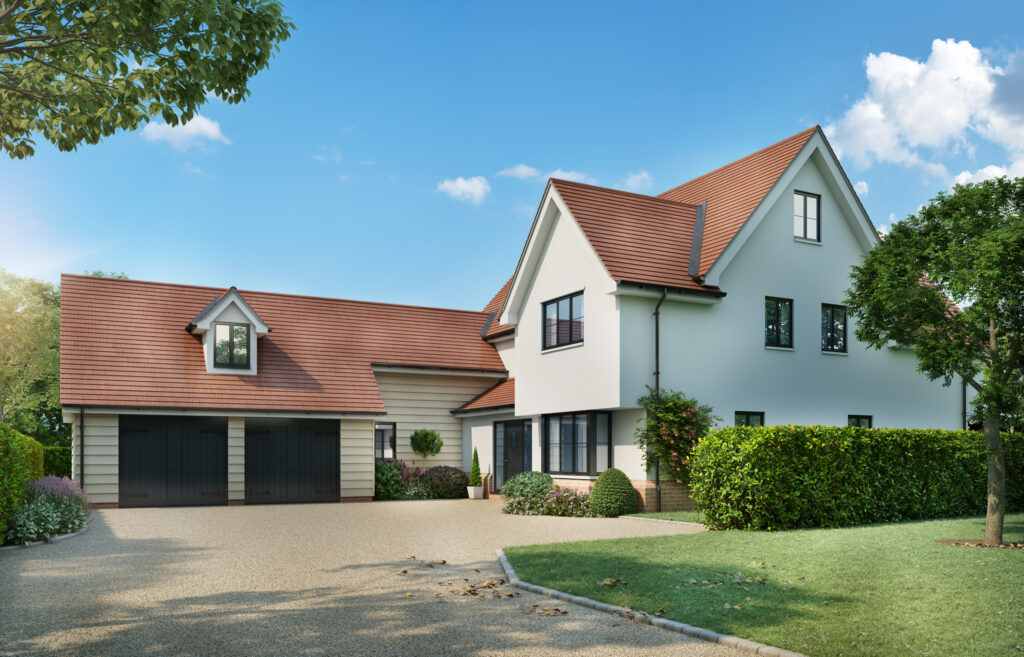
3D rendering
Pulling together all the previous input, rendering a digital image is the last step to creating an architectural product that feels like you can step right into. While this process can be time-consuming to complete simply because of the computing power needed, it knits together the basic and complex shapes, digital sculpting, lighting, materials, and added styling into a cohesive visualisation of what appears to be a finished space–all of this without any actual ground being broken on the project.
-
Animation
The right artist can take things a step further by creating an animation of the digital product. Imagine being able to view your dream home as if you were walking through it in person. The technology exists to create visual walk-throughs of buildings, allowing you to orient yourself and look from one room to the next.
Final Thoughts
Architectural visualisation has advanced to the point of being able to provide clients with a complete picture of their final product, honing their vision, and providing detailed renderings of what they will see when the physical project is finished. These visualisations are helpful for everyone involved in that project: architects, contractors and builders, landscapers, and interior designers. Each step of the way is guided by a cohesive image of what the goal is, making sure the whole team is on the same page and, most importantly, the client is satisfied with the end product.